Doiguchisan reported the project of gauge modification! Thank you so much!
Let's start! :D
The project of gauge modification
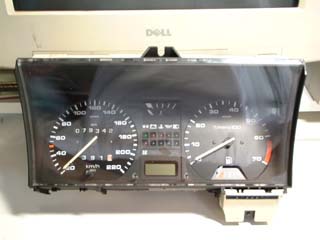
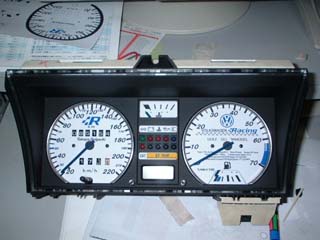
[Before] | | [After] |
 | |  |
| | |
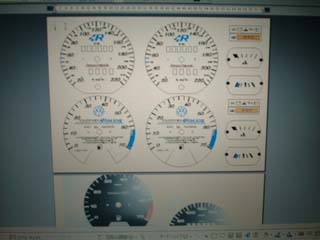
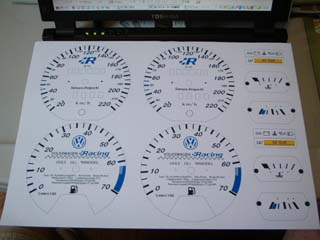
1. White Gauge
| | |
1) Disassemble the gauge.
The details is explained by this page.
| | |
| | |
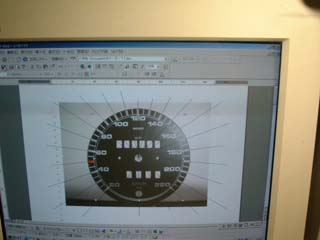
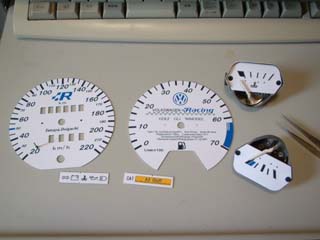
2) Make templates
The procedure of making is as follows.
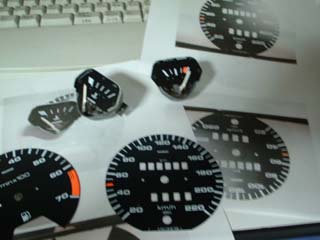
a. Take pictures of desassembed panels separately by digital
camera.
b. Put pictures on MS Word.
c. Adjust the size of pictures. Those pics should be the same
as actual size.
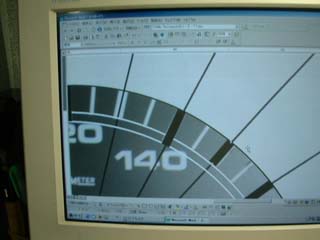
d. Draw dials, lines and write numbers.
e. Delete the original pictures. (Or move them.)
f. Print and readjust the size again.
g. After that, print it on label sheet.
h. Cut and put them on the original gauges.
| |  |
Doiguchisan installed the following white (clear) LEDs with resistor.
Diameter : 5mm
Voltage : 3.2V min. - 3.3V max.
Amp. : 20mA
Luminous Intensity : 6,000mcd min. - 7,000mcd max. (6,500mcd typical)
Direction Characteristics : 60 degrees typical
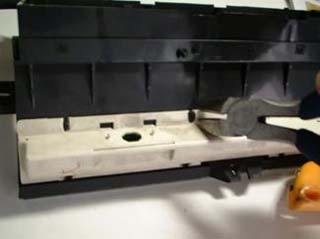
1) Disassemble the illumination case
Remove the white case in the upper part of the meter.
There are some bonding parts.
So cut those parts and remove it.
| |  |
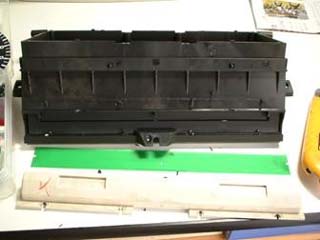
| | |
Disassembled. As you can see, there is green sheet.
| |  |
| | |
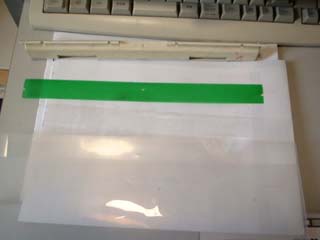
2) Making the diffusing sheet
File a clear sheet using sand paper.
It become a cloudy sheet.
| |  |